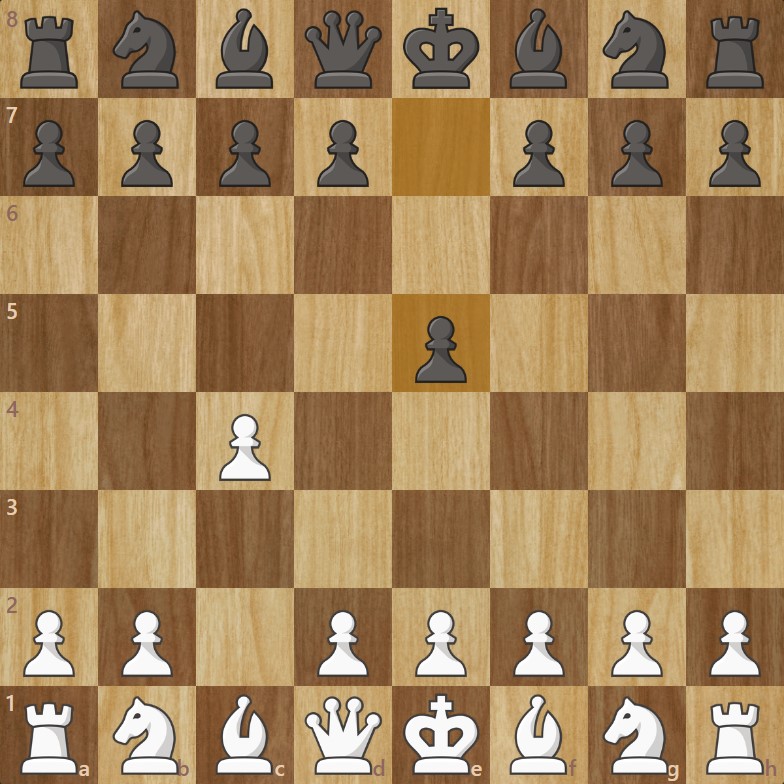
White does not immediately occupy the center with e4 or d4, but instead controls it from a distance.
This hypermodern approach aims to build a solid position before striking at the right moment.
Many transpositions are possible into the Reti, the Catalan, or even certain reversed Sicilian structures.
Strengths
Offers flexibility and adaptability: White can adjust to almost any Black response.
Highly rich in strategic themes: it teaches a great deal about pawn structures and maneuvering.
Helps avoid heavy theoretical preparation associated with the major defenses against 1.e4 and 1.d4.
Ideal for patient, positional players with strong calculating skills.
Weaknesses
Does not put immediate pressure on Black, which can lead to a slower, more gradual game.
Less suitable for players who enjoy sharp, tactical confrontations.
Positions can become subtle and difficult to handle if the underlying plans are not well understood.
Black Replies with e5
Starting position
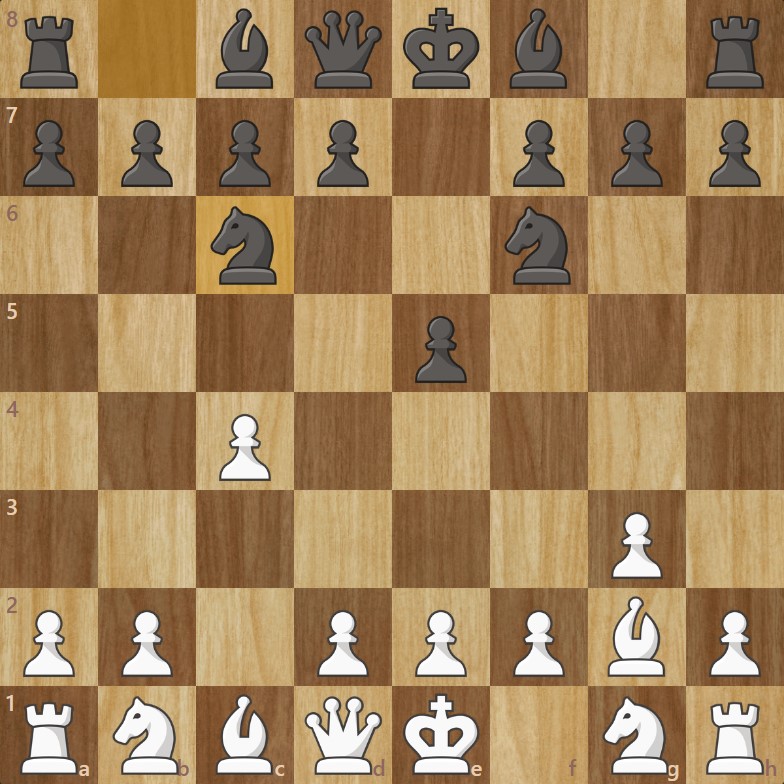
1. c4 e5
White plays the characteristic move of the English Opening, aiming for a slightly slower and safer development, with the goal of building a long-term positional advantage.
Black responds by occupying the center — the most common reply.
The Classical Plan
2. g3 Nf6
White’s idea is to make full use of the long light-squared diagonal, which is not blocked by the c4 pawn.
Black continues with a classical development of the minor pieces.
3. Bg2 Nc6
White completes the fianchetto setup.
Black develops the second knight.
White’s Harmony
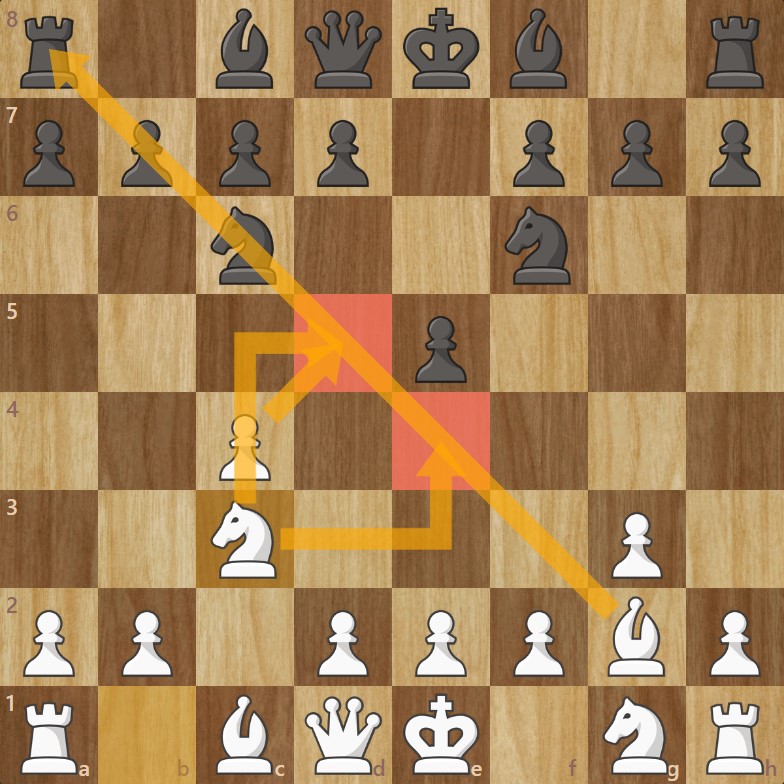
4. Nc3
White develops the knight to c3.
There are several move orders that lead to this position for White, but playing the moves in this sequence helps avoid any potential Black threats.
We can observe excellent coordination among the white pieces, which collectively control d5 and e4, as well as, more broadly, the entire h1–a8 diagonal.
Black Develops the Bishop to b4: A Mistake !
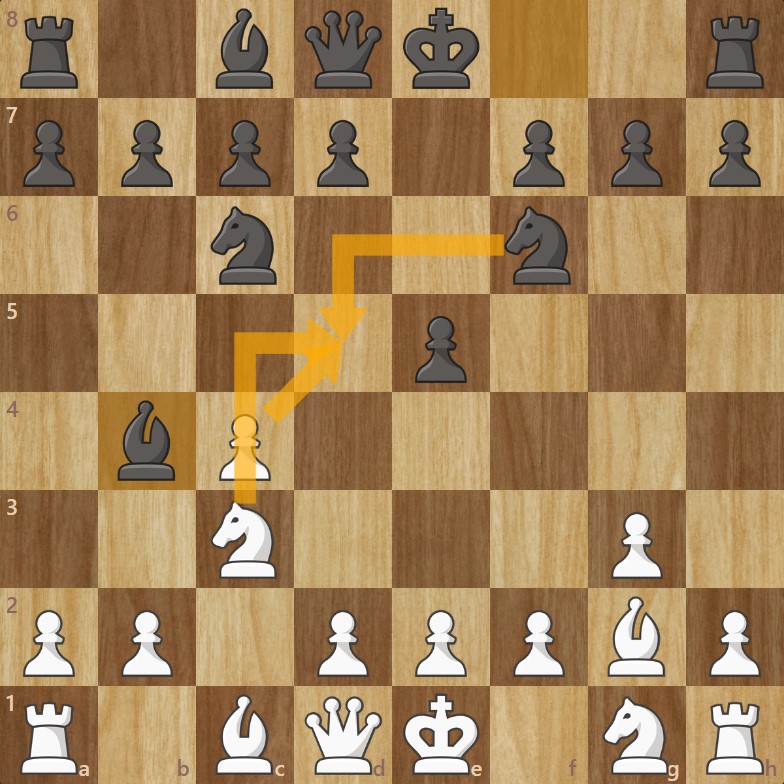
4… Bb4
Before pushing their d-pawn and potentially blocking the development of their dark-squared bishop, Black decides to bring this bishop out.
As White, you now have a whole set of traps you can aim for — and it all begins with:
5. Nd5 Nxd5
The white knight centralizes, simultaneously attacking the bishop that has just come out.
Capturing the knight is the most common move for Black in this position.
6. cxd5
White recaptures with the pawn, attacking the knight on c6.
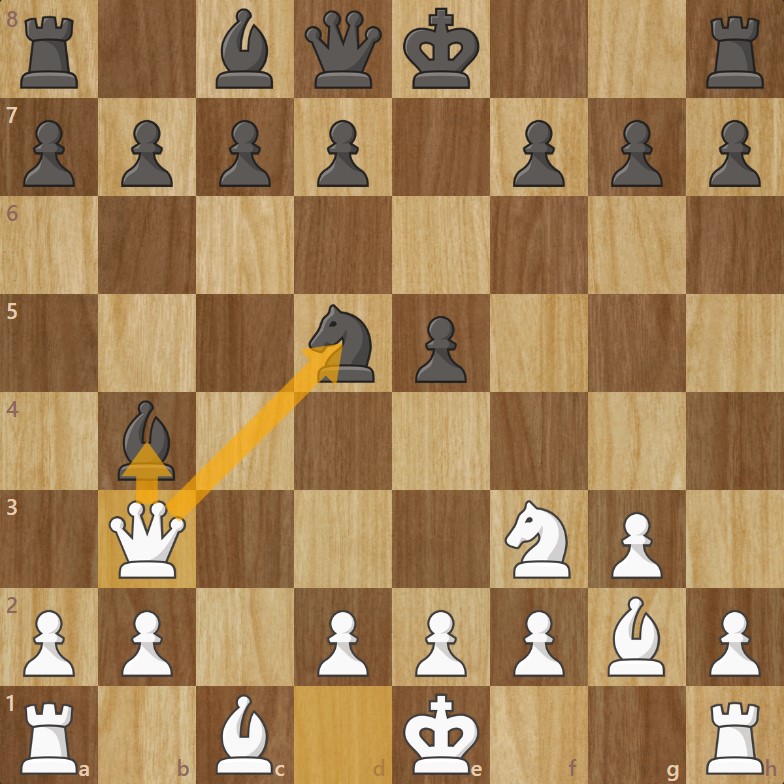
Trap #1 : The Knight Retreats to d4
6… Nd4
7. e3 Nf5
White continues chasing the knight by playing e3. Scenario #1 : the knight escapes to f5.
8. Qg4
The white queen develops, creating a double attack on both the knight and the bishop.
White wins a piece in this position — and barring any major surprise, the game is essentially decided !
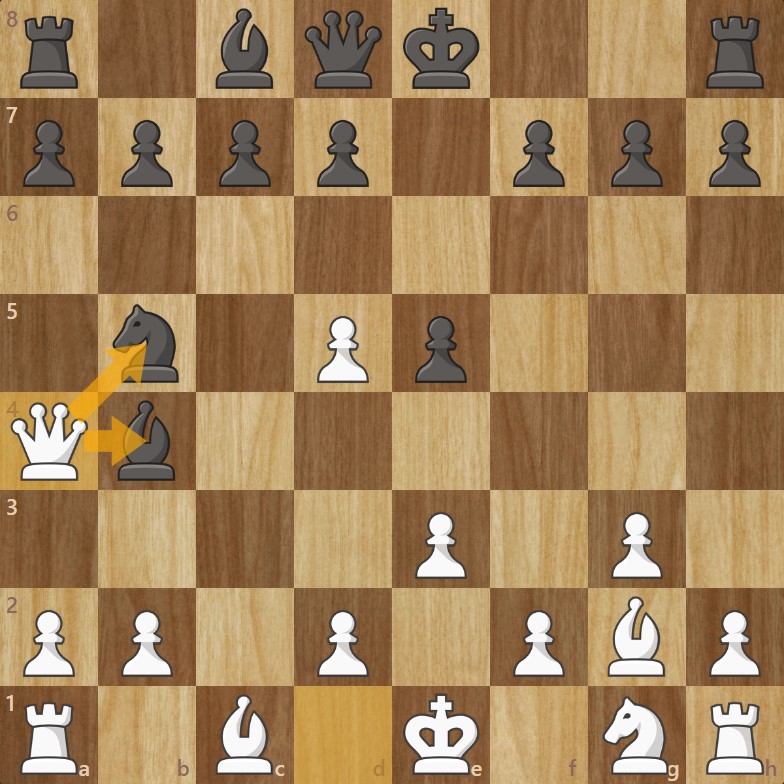
Trap #2 : The Knight Retreats to b5
7. e3 Nb5
White continues the chase of the knight by playing e3. Scenario #2 : the knight retreats to b5.
8. Qa4
The white queen develops, creating a double attack on both the knight and the bishop.
The result is the same : Black will lose a piece in this position — and most likely the game as well !
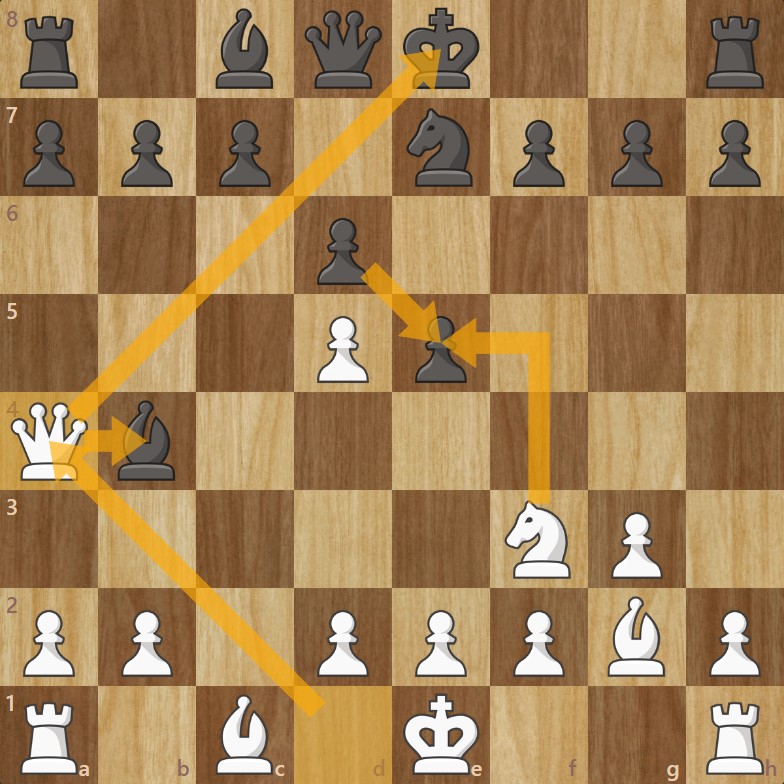
Trap #3 : The Knight Retreats to e7
6… Ne7
7. Nf3 d6
White develops the knight, simultaneously attacking the e5 pawn.
Black may be tempted to defend it with d6. This move seems logical: it protects the attacked pawn and opens the way for the dark-squared bishop to develop. And yet…
It weakens the black king and is actually a major mistake, once again costing Black a piece.
8. Qa4+
A double threat: check, and an attack on the bishop on b4.
Result : Black loses a piece in this position as well !
Trap #3 : Second Alternative !
7. Nf3 Nxd5
In this variation, Black chooses to capture the undefended d5 pawn rather than protect the e5 pawn.
White could, in this position, decide to win back the e5 pawn, simultaneously creating a discovered attack on the knight on d5.
But there’s an even more amusing option…
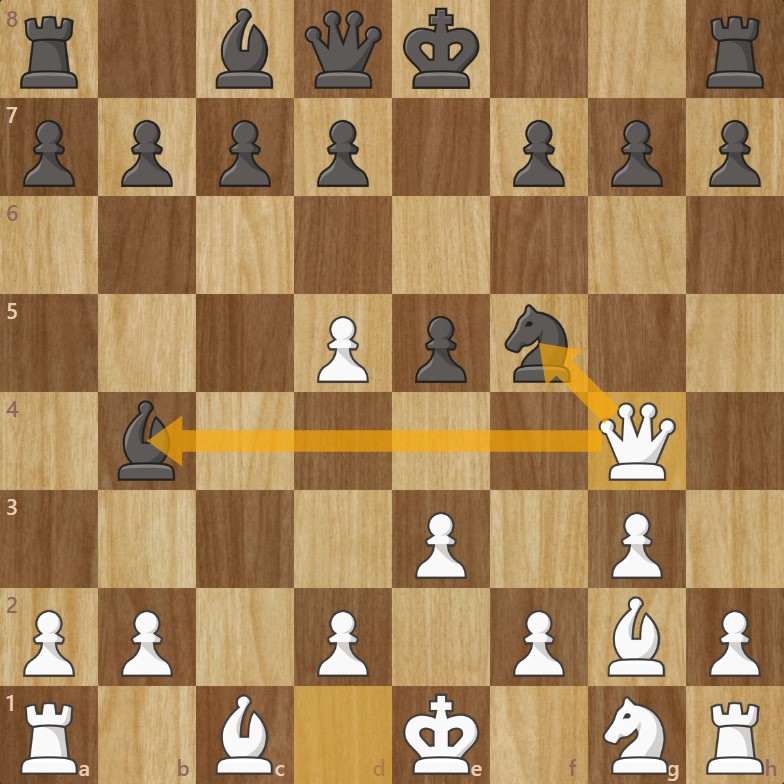
8. Qb3
Once again, the queen delivers a double attack on both the bishop and the knight. Neither piece will be able to survive.
And if Black tries to defend the knight, White’s simple push e4 will seal Black’s fate.
Black Develops the Bishop to c5
4… Bc5
5. e3 d6
White prepares a development square for the knight and reinforces the central structure on the dark squares.
Black prepares to develop the second bishop.
6. Nge2 O-O
White develops the second knight.
Black castles, bringing the king to safety.
7. O-O
White also castles, securing the king.
The Wrong Move for Black
7… Be6 (MISTAKE!)
Black develops the second bishop, simultaneously attacking the undefended pawn on c4.
The problem is that White has enough time to respond with d4, attacking the bishop on c5.
The Wrong Move for Black – Continued
8. d4 exd4
9. exd4 Bb6
After the pawn exchange on d4, the threat against the black bishop still remains.
Black retreats the bishop to b6.
10. d5
White pushes the pawn to d5, creating a fork on the knight and the bishop.
Black is going to lose a piece here — and quite possibly the game.
Tip : When your opponent’s minor pieces are clustered on the same rank and few exchanges have taken place in the early moves, stay alert: opportunities for pawns to deliver forks and win material often arise !
Another Plan for Black : Blowing Up the Center Early !
3… d5
Black decides to seize the initiative before it becomes too late. They push the d-pawn while the square is not yet “overloaded” by White’s control.
Black: The Mistake to Avoid !
4. cxd5 Nxd5
The pawns are exchanged on d5, resulting in a centralized knight for Black.
5. Nc3
White develops the knight to c3, creating a double threat on the black knight (which is protected only by the queen).
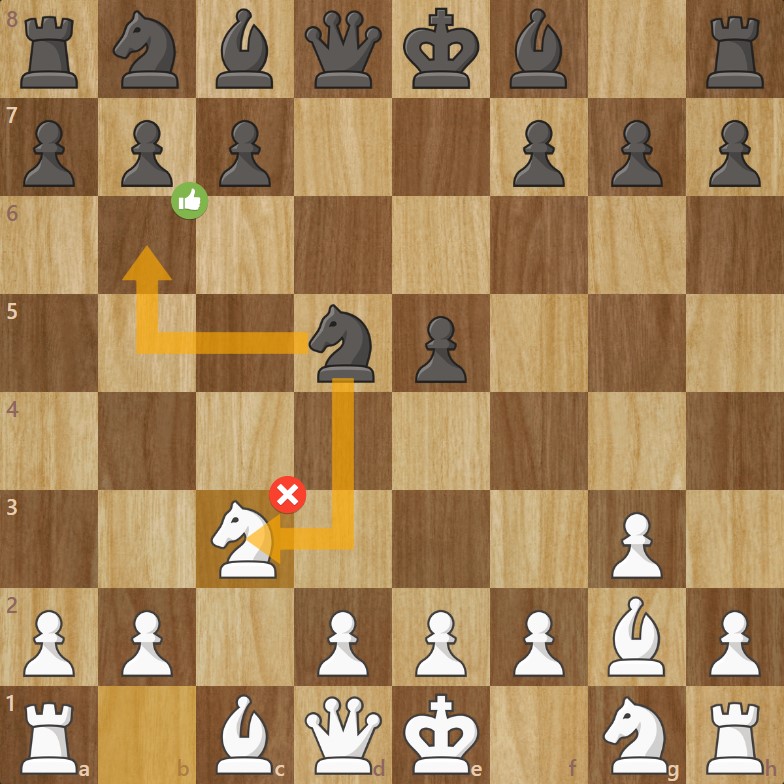
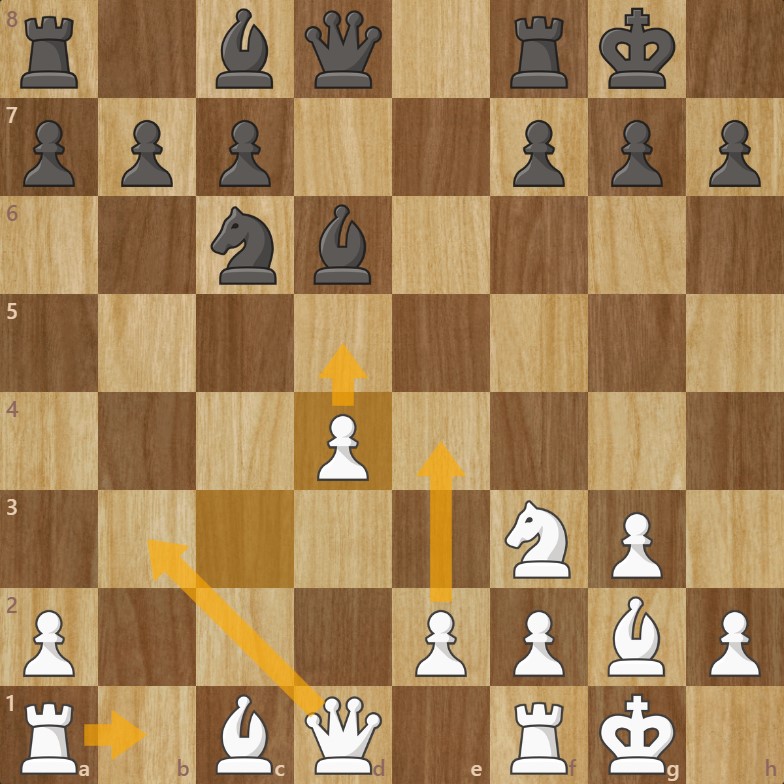
In this situation, Black must absolutely avoid capturing the knight on c3. Doing so would lead to a position that is much harder to play for a beginner or intermediate player, where White can quite easily take control of the center. (see next diagram)
Possible Position if Black Captures on c3
As we can see, in this position White has tremendous activity :
A dominant center
Open diagonals
A semi-open file for the rook on a1 (Rb1)
And yet, the development moves played by both sides are completely “standard.” This means it’s the kind of position you may encounter quite often.
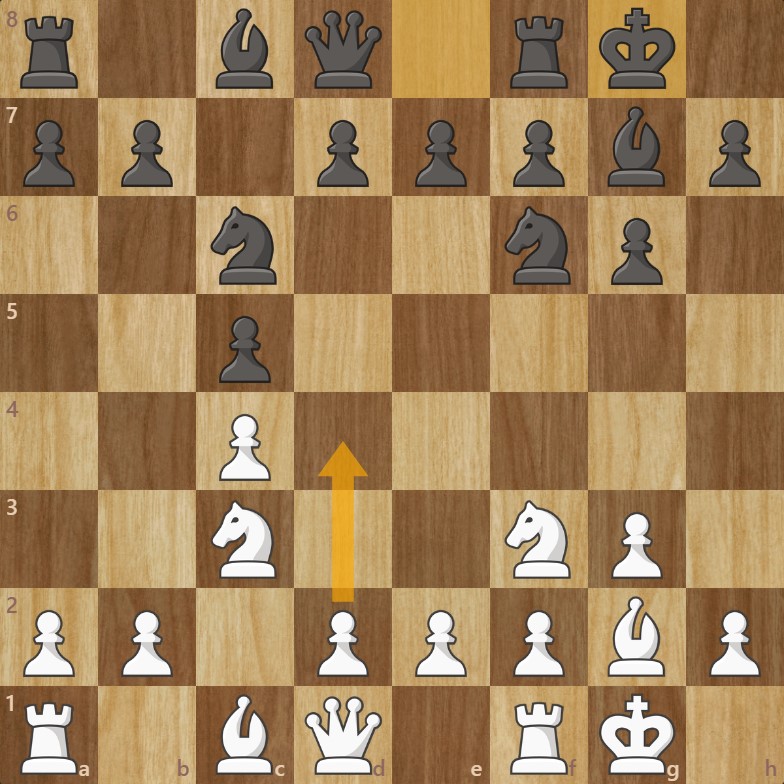
The Symmetrical Variation
Position After 6 Moves
After 6 moves, Black has played exactly the same moves as White.
White’s idea here is to play:
7. d4
A move that takes space, forces exchanges, and opens the diagonals. The resulting position will give White a slight advantage — nothing disastrous for Black.
However, the extra space and the activity generated by White provide a more comfortable position to play.
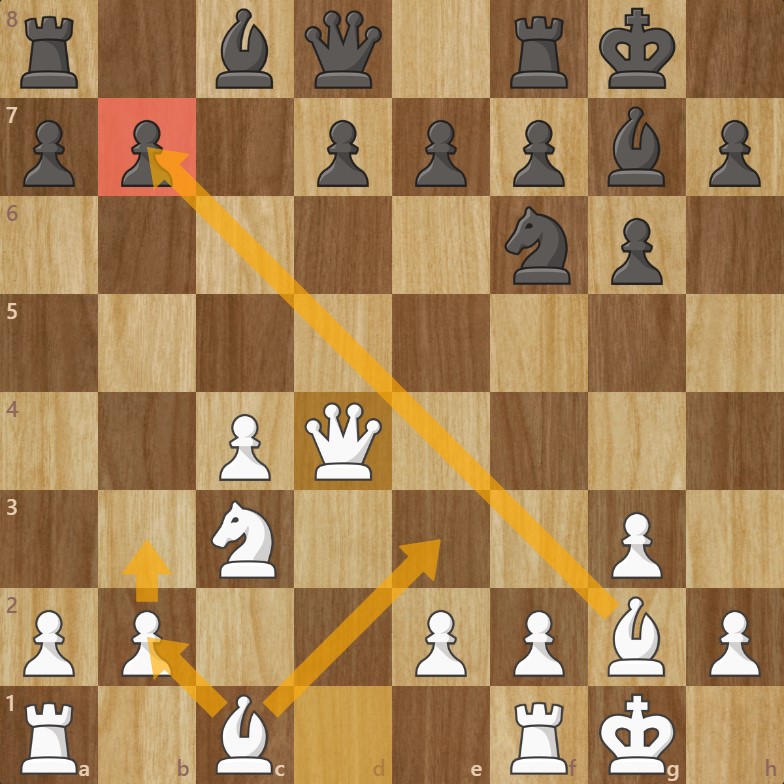
White’s Activity
7. d4 cxd4
The pawns are exchanged.
8. Nxd4 Nxd4
The knights are exchanged.
9. Qxd4
After this sequence, the activity of the white bishop along the a8–h1 diagonal prevents Black from pushing the b-pawn (with the idea of developing the bishop on the long diagonal).
Meanwhile, White can develop the dark-squared bishop to any square they like — they all lead to good positions.